


11 tips to help you choose makeup that won't quit on you this wedding season
It’ll outlast the dance-offs and chaat
Remember the time when weddings meant running around the venue in an itchy, frilly dress picked by your parents, with hair slicked down with a questionable amount of hair oil? As kids, we didn’t care how we looked in family photos. We were just there to play, dance and maybe sneak in extra gulab jamuns from the buffet.
But now, wedding events aren’t just community celebrations, they are mini red-carpet events. Being a wedding guest comes with a prep checklist—exquisite outfits, matching accessories and long-lasting makeup that can survive an entire day of festivities. The foundation needs to stay flawless through the dancing and sweating. The lipstick must withstand the three-course meal. The waterproof eyeliner, mascara and kajal are crucial to survive all the teary-eyed moments without completely ruining the look. And in photos? We need to look good enough to be posted on the grid, not just stories.
Want to master magic (and mayhem) of festive makeup? We asked celebrity makeup artist Mehak Oberoi—the hand behind flawless looks sported by stars like Kiara Advani, Priyanka Chopra and Malaika Arora—to share tips for acing your makeup this wedding season.

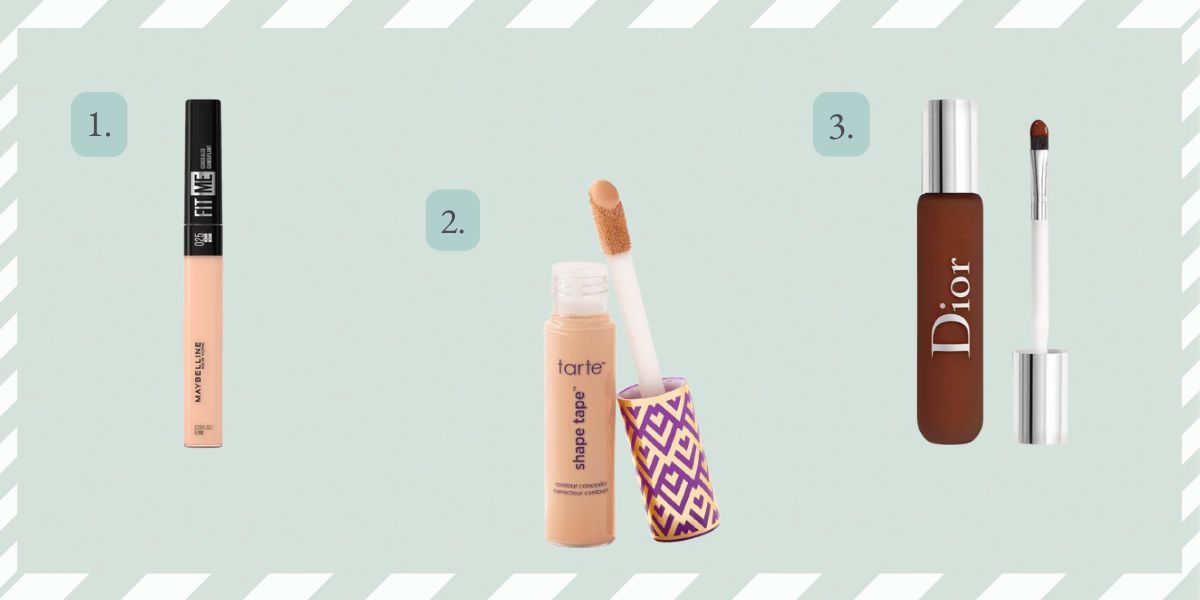
Smooth out creased concealer
Late-night work deadlines, endless scrolling on social media and binge-watching just one more episode of our favourite series have all left us with quite noticeable dark circles. And tired under-eyes do not exactly scream wedding-season glam. Concealer can help you cheat that well-rested look, but you have to get it right.
Oberoi recommends a tried-and-tested method to prevent concealer creasing and settling into the lines under your eyes. “The first thing you need to do is hydrate your under-eyes. If you have really pronounced dark circles, apply a sheer layer of a colour corrector.” Follow it up with a lightweight, creamy concealer and give it time to settle. Oberoi suggests finishing the rest of your base, and then returning to the under-eyes for more blending. Finally, set the concealer with a light dusting of powder, and there you go. Late nights, who?

Un-invite acne
Would any celebration ever be complete without an unexpected breakout? You ate one extra poori at the mehndi and the bill for it is the red rager on your chin now. Fear not, a little well-placed concealer will placate it (check out these skincare products that people with acne-prone skin are using). Oberoi recommends you start with cleansing and moisturising your skin well, and then apply primer and colour-correcting concealer to the requisite area. She points out that while it’s easy to conceal the scars from acne which has subsided, active flare-ups are more challenging because they cause redness and show up as bumps on the skin. “The best you can do in such cases is let the concealer sit on the acne and dry a little bit. This step must be done at the end once you’ve finished your makeup. This way, you can cover it up without any other product getting accumulated around it,” she suggests. Further, you can dab compact for additional touch-ups.
Keep in mind, however, that certain makeup products can worsen acne. Experts recommend opting for non-comedogenic and oil-free makeup products if you have acne-prone skin.
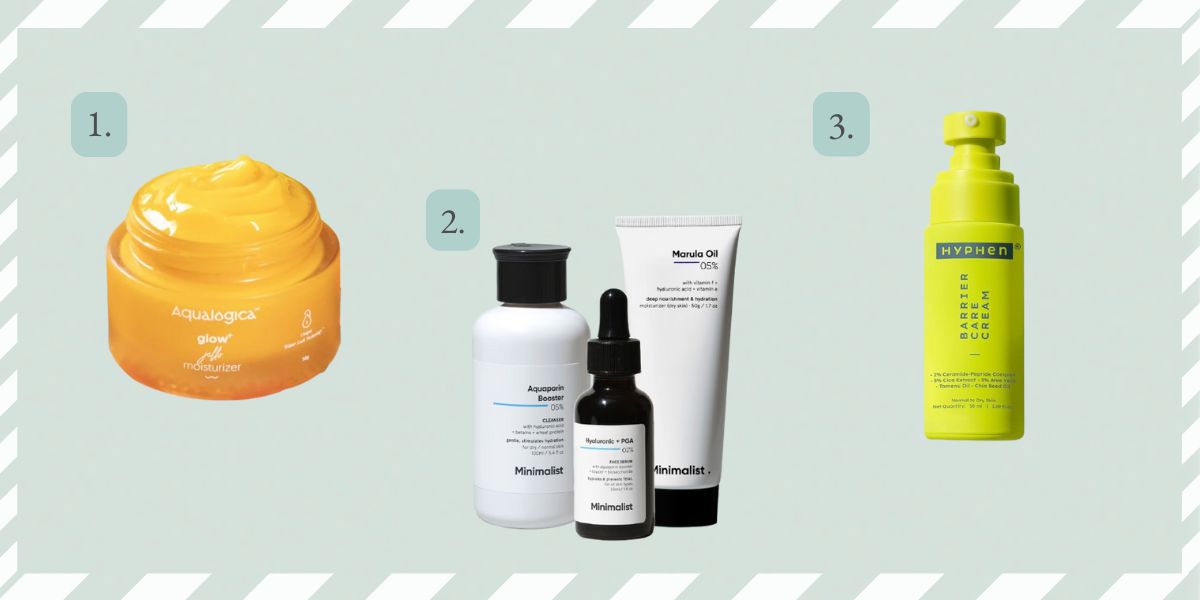
Fake that good-sleep glow
“You’re glowing!” is one of the best compliments you can receive (so much better than compliments on your weight and size, no?), and nobody needs to know it’s your dewy base that’s doing the heavy lifting. But when your skin is dry and patchy, acing this look needs industrial-strength hydration. “Slather your skin with a lot of moisturiser and let it sit. Give it time. In fact, sleeping with a thick layer of good moisturiser can help too. If the skin is still dry, mix moisturiser in your foundation and then apply the first layer,” Oberoi suggests. Additionally, when you have dry skin, it is always better to use cream products, and then lightly set them with powder.
You can achieve the perfect glowy makeup look in three easy steps. Opt for an illuminating and hydrating primer, followed by a light-to-medium coverage foundation, and setting powder. Sweep on some highlighter to accentuate the glow.
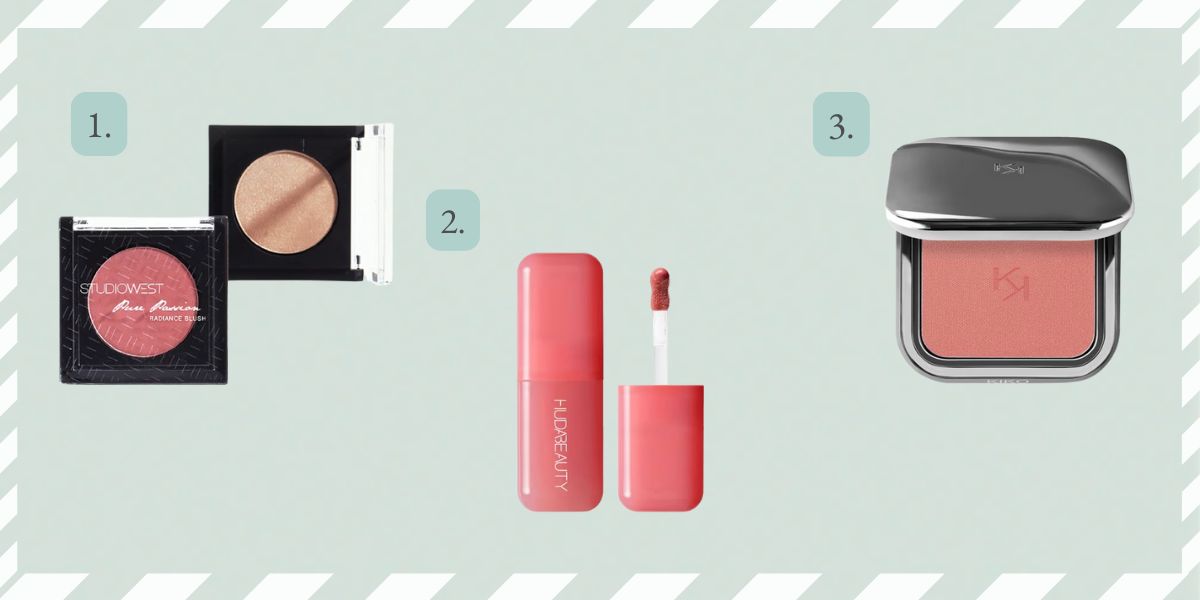
Tone down the ‘blushing’
If you’ve been a victim of ‘blush blindness’ you know how tough it is to hold off on applying more pigment, even if you end up looking like a human rose, instead of achieving a rosy glow. According to Oberoi, the best way to prevent this from happening is to apply concealer after you have applied the blush. “Even if you’ve gone overboard, the concealer diffuses the extra colour, blends everything together and evens it out,” she says. Finish with a setting powder to avoid a patchy look and to integrate all the layers seamlessly.
If you forget to apply the blush before the concealer, beauty creator Shivangi Sharma has a hack to help you ration the colour: avoid applying the blush directly onto the face. Apply it on the back of your hand first, and with the same brush, apply it to your cheek for more control.
Can’t beat that brow
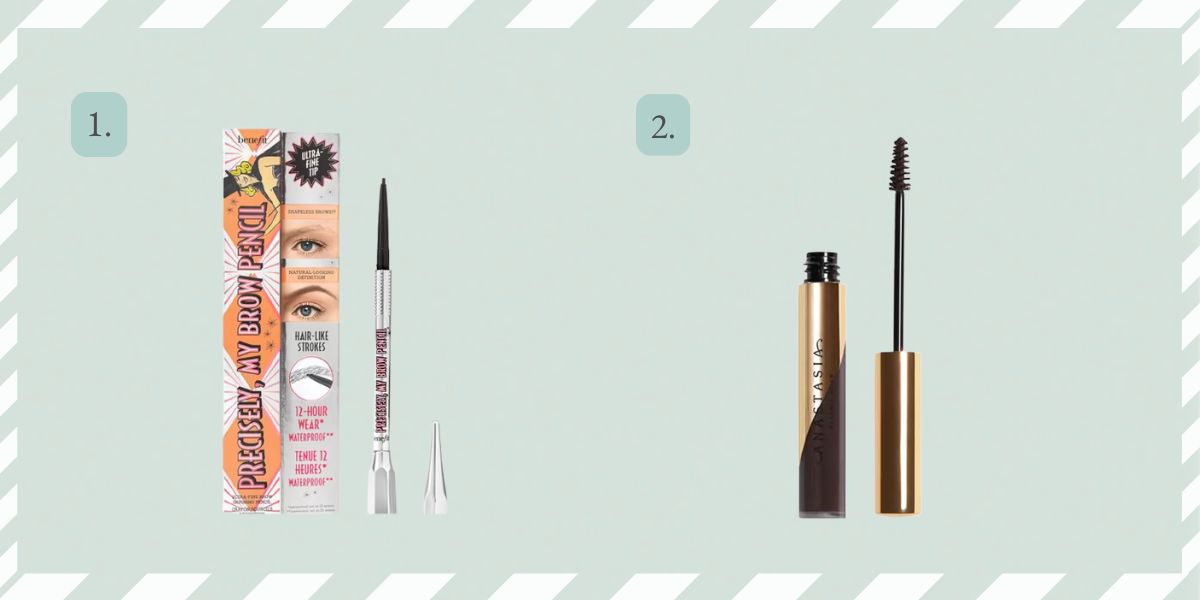
In the list of things to do to achieve the perfect wedding season makeup look, do not overlook your eyebrows. A strong brow game can instantly elevate your look, framing your face and defining your features more prominently. An eyebrow pencil is ideal for a defined and precise look, while an eyebrow gel can be used for a fuller, thicker finish. Start by outlining the required shape, and then gently fill it in with thin hair-like strokes on the sparse areas. A smart hack to correct any messy edges and make the brows appear cleaner and sharper is to apply concealer on the outer edges of the brows and blending it properly.
Oberoi recommends the Benefit Brow Pencil and Anastasia Beverly Hills Brow Gel to make the brows look precise and picture-perfect.
Kajal that won’t make you cry
Kajal and eyeliner are the architects of drama and depth in your look. Whether it is the perfect winged look, or smokey eyes, they can give an otherwise vanilla look real edge. But if you have sensitive eyes, applying eyeliner or kajal can be tricky. “Make sure you have used the product before, and it is tried and tested, so that you don’t experience any irritation on the day of the event,” says Oberoi. And if you are using a new product, she recommends doing a patch test for the product before applying it on the eyes.
If you have sensitive eyes, experts recommend opting for hypoallergenic and chemical-free products to minimise the risk of allergic reactions. Pencil or gel products are more suitable than liquid versions as they have a softer texture and easier application process, averting the risk of particles getting in your eyes. Apply it in one swift motion on the waterline, and avoid wearing it on the inner corners near the tear duct or lash line.

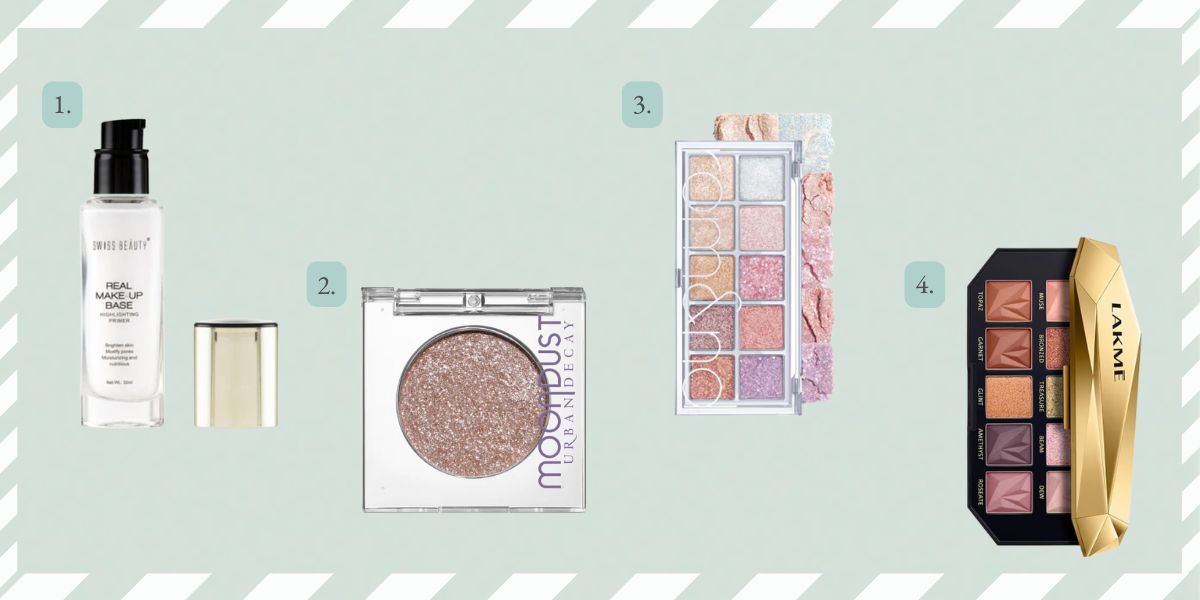
Save the sparkle
If you want to shine at wedding events, quite literally, there’s nothing better than glitter eyeshadow to steal the spotlight (and the compliments). One swipe and your eyelids are now like your own disco ball, flashing and catching every twinkle of light. But here is the thing: nobody wants glitter flaking and falling off, making a mess of the rest of your makeup. To prevent getting it in places it’s not supposed to be, Oberoi suggests prepping the lids with a primer before applying eyeshadow to create a smooth base that keeps the pigment and particles in place.
For making the glitter stick, Oberoi suggests, “Spritz some makeup setting spray on the brush before picking the glitter with it. This step helps the particles adhere better to the brush as well as the eyelids.” It is easier to apply glitter on cream-based makeup products over the powder ones, since the former provides a better base and grip.
Lipstick that slays, and stays
Between the chaat and dessert counters at the reception, your lips are working constantly—and your lipstick faces the ultimate test of survival. “The trick to make the colour last longer without frequent reapplication is to work with clean lips and hydrate them first,” says Oberoi. You can exfoliate with a lip scrub and apply a lip balm for moisture. “Then, line your lips with the shade you want to work with and fully fill them in with the lip liner too. If you don’t like the texture of lip liners, you can opt for water tints, which make it easier to soak in the colour,” she says. Finally, choose a long-stay matte lipstick and top it up with a non-sticky lip gloss, so your lips don’t feel tacky and weighed down.

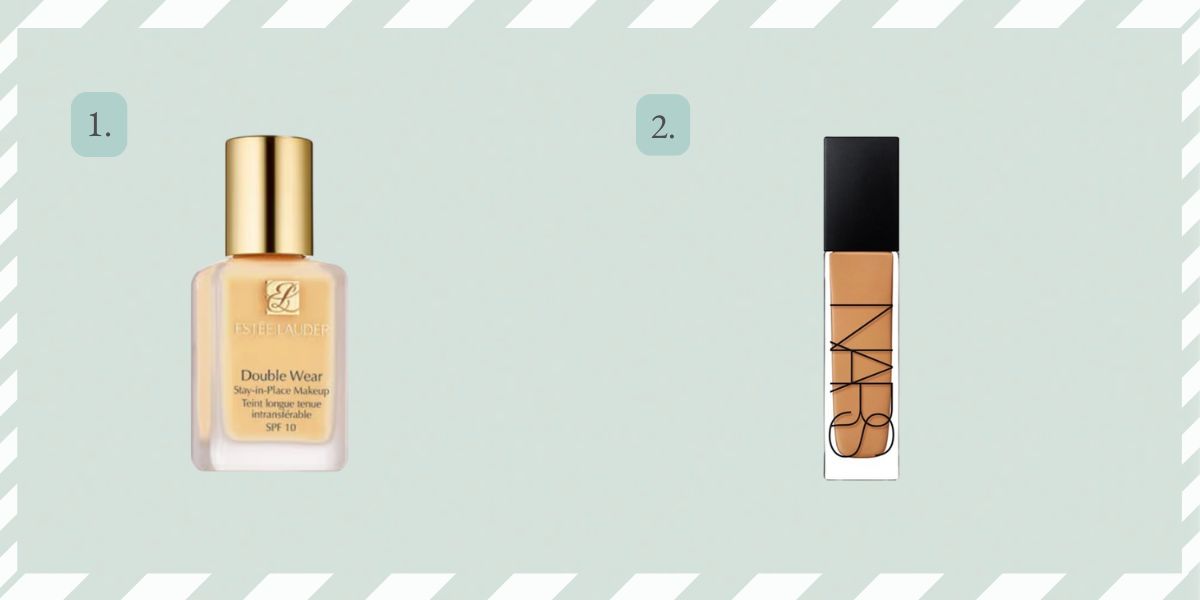
Till death (and dancing) do us part
As you break out the thumkas for ‘Desi Girl’ at your best friend’s sangeet, or meet the beats of the dhol at your brother’s baraat, your makeup experiences a rollercoaster ride through all the movement and sweating. Between the thrusts, jumps and twirls, you need makeup that will hold on tight. “The best way to make your makeup look survive the wedding functions is to use a bulletproof foundation which is durable and stays in place without melting or creasing. And use a really good fixing spray to get through long events,” advises Oberoi. You can keep a compact handy for touch-ups through the day.
Makeup that goes on main
From ‘plandid’ images of you dancing and eating, to heavily curated group pictures, looking good for the camera is the ultimate objective at weddings. And nothing kills the vibe faster than makeup that ghosts you under the flash. “The best way to look good in photos, especially at wedding events, is to underpaint your contour and blush,” Oberoi says. Underpainting is a makeup technique where you apply the contour, concealer and blush on bare skin. A light layer of foundation is applied at the end, which seamlessly blends the colours, giving them a depth and dimension that shows up well on camera.
Another essential step to make your makeup shine in photos is to apply cream products, and then set them with a light dusting of powder products. “For example, if you have applied cream blush, mildly layer it up with a powder blush. It is the same for highlighter, concealer and foundation,” says Oberoi. This layering helps the pigment hold and ensures a smoother, natural texture for the camera.
The final farewell
The dancing is done. The photos have been clicked. The event is over. Now comes the most crucial, and overlooked, part— removing the makeup. Oberoi suggests three essential steps:
- Use an oil-based make-up cleanser or makeup melting balm as the first line of action.
- Follow it up by using micellar water to remove the more stubborn residue.
- Finally, wash your face thoroughly with a water-based cleanser before carrying on with the rest of your CTM routine.
These steps are essential to ensure that the skin remains hydrated and unharmed after all the partying it’s been through.